Getting started
How PayPal Expanded Checkout works
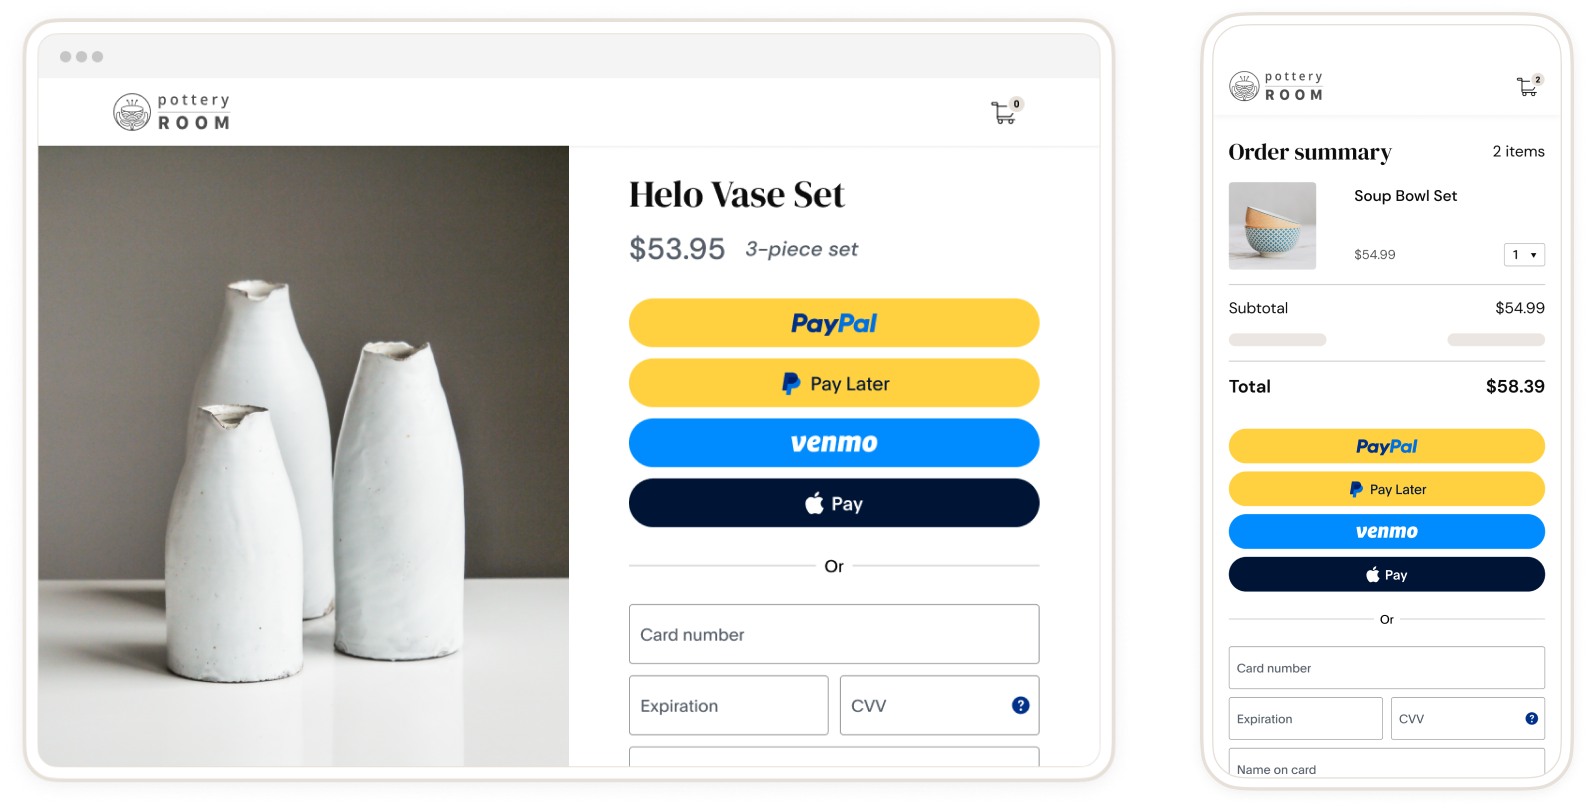
Integrate expanded checkout to present custom credit and debit card fields to your payers so they can pay with PayPal, debit and credit cards, Pay Later options, Venmo, and alternative payment methods, using your site's branding..
PayPal's JavaScript SDK supports how you want to accept payments on your website. Our SDK handles displaying the buttons for PayPal and other payment methods, so your customers can pay with whatever method they choose.
The JavaScript payload shows up in the global window object under the paypal namespace, so you can access it anywhere in your app to render any component in the JavaScript SDK.
Expanded Checkout with Hosted Card Fields and 3D Secure
1
The script tag fetches the PayPal JavaScript SDK when your checkout page renders.
2
Your page renders the hosted card fields using the PayPal JavaScript SDK.
3
The buyer enters their card details into the card fields.
4
Optionally, you can collect the billing address with your own inputs and include the values in the submit method.
5
The buyer clicks on the Submit button which calls the cardFields.submit method.
6
The createOrder callback sends a request to your server to create a PayPal order.
7
Your server sends a request to the PayPal Orders API with the appropriate 3DS verification.
8
The createOrder callback returns an orderId back to your page.
9
Depending on the 3DS verification method passed by your createOrder call, the buyer sees a 3DS User Authentication from the card-issuing bank.
10
The onApprove callback returns a liabilityShift response that your page can use to determine how to process the order.
11
If there are no issues during the createOrder process, the onApprove callback sends a capture request to your server.
12
Your server sends a request to the PayPal Orders API to capture the order.
13
Your page can use the capture response to verify the payment was completed, catch any errors about their payment method, and handle the approval or decline.
The PayPal Card Fields component can be rendered on your page and customized to match your user experience. You can load the PayPal buttons component alongside the Card fields and this will allow your buyer the option to select which payment method they would like to use. The PayPal buttons component shows up on your page based on the configuration you set in the JavaScript SDK.
When your buyer selects to pay with the card fields:
1
Card Fields will render on your page.
2
The buyer will fill each of the fields with their card information like Cardholder name, Card number, Expiration date, Postal code, and CVV.
3
Optionally, the buyer can enter their billing address into your own input elements and be passed along with the order.
4
After the buyer has filled the card fields, buyer clicks on the Pay or Submit button to process the card transaction.
5
The order goes to PayPal servers, where we process the payment.

Set up your development environment
1
Build the server
This sample Node.js integration uses the npm package manager.
Enter npm install to run the sample application. For more information, visit npm's documentation.
2
Install dependencies
Set up your integration by running npm install @paypal/paypal-server-sdk@1.0.0 dotenv express body-parser to install the following 4 libraries at the same time:
-
@paypal/paypal-server-sdk@1.0.0 The PayPal Server SDK provides integration access to the PayPal REST APIs
-
dotenv separates your configuration and code by loading environment variables from a .env file into process.env.
-
express is a Node.js web application framework that supports web and mobile applications.
-
body-parser is used to parse incoming request bodies in a middleware before your handlers
This sample integration uses PayPal's Server SDK v1.0.0. For more details, visit the PayPal Server SDK documentation by logging in to your account.
3
Verify package.json
The following code sample shows a package.json file for a PayPal integration. Replace YOUR-SERVER-NAME.js with the name of your server file in main and start on lines 5 and 8:
{
"name": "paypal-expanded-integration-backend-node",
"version": "1.0.0",
"private": true,
"type": "module",
"dependencies": {
"@paypal/paypal-server-sdk": "^0.6.0",
"body-parser": "^1.20.3",
"dotenv": "^16.3.1",
"express": "^4.18.2"
},
"scripts": {
"server-dev": "nodemon server.js",
"start": "npm run server-dev",
"prod": "node server.js",
"format": "npx prettier --write **/*.{js,jsx,md}",
"format:check": "npx prettier --check **/*.{js,jsx,md}"
},
"devDependencies": {
"concurrently": "^8.2.1",
"nodemon": "^3.0.1"
}
}
If you're having trouble with your app, reinstall your local library and package files using npm install. If you're getting the following node error, include "type": "module" in your package.json file. This line isn't automatically added when package.json is created.
Warning: To load an ES module, set "type": "module" in the package.json file or use the .mjs extension. Use node --trace-warnings ... to show where the warning was created.
See line 5 of the sample package.json file for an example.
4
Set up environment variables
Update your operating system's local working environment variables to pass your app's client ID and client secret securely. The following examples show how to set up these environment variables in PowerShell on Windows, as well as the Linux and MacOS operating systems:
Windows (powershell)
$env:PAYPAL_CLIENT_ID = "<PAYPAL_CLIENT_ID>"
$env:PAYPAL_CLIENT_SECRET = "<PAYPAL_CLIENT_SECRET>"
Linux / MacOS
export PAYPAL_CLIENT_ID="<PAYPAL_CLIENT_ID>"
export PAYPAL_CLIENT_SECRET="<PAYPAL_CLIENT_SECRET>"
View your client ID and client secret in the PayPal Developer Dashboard under Apps & Credentials.
Know before you code
Resources