Getting started
How PayPal Checkout works
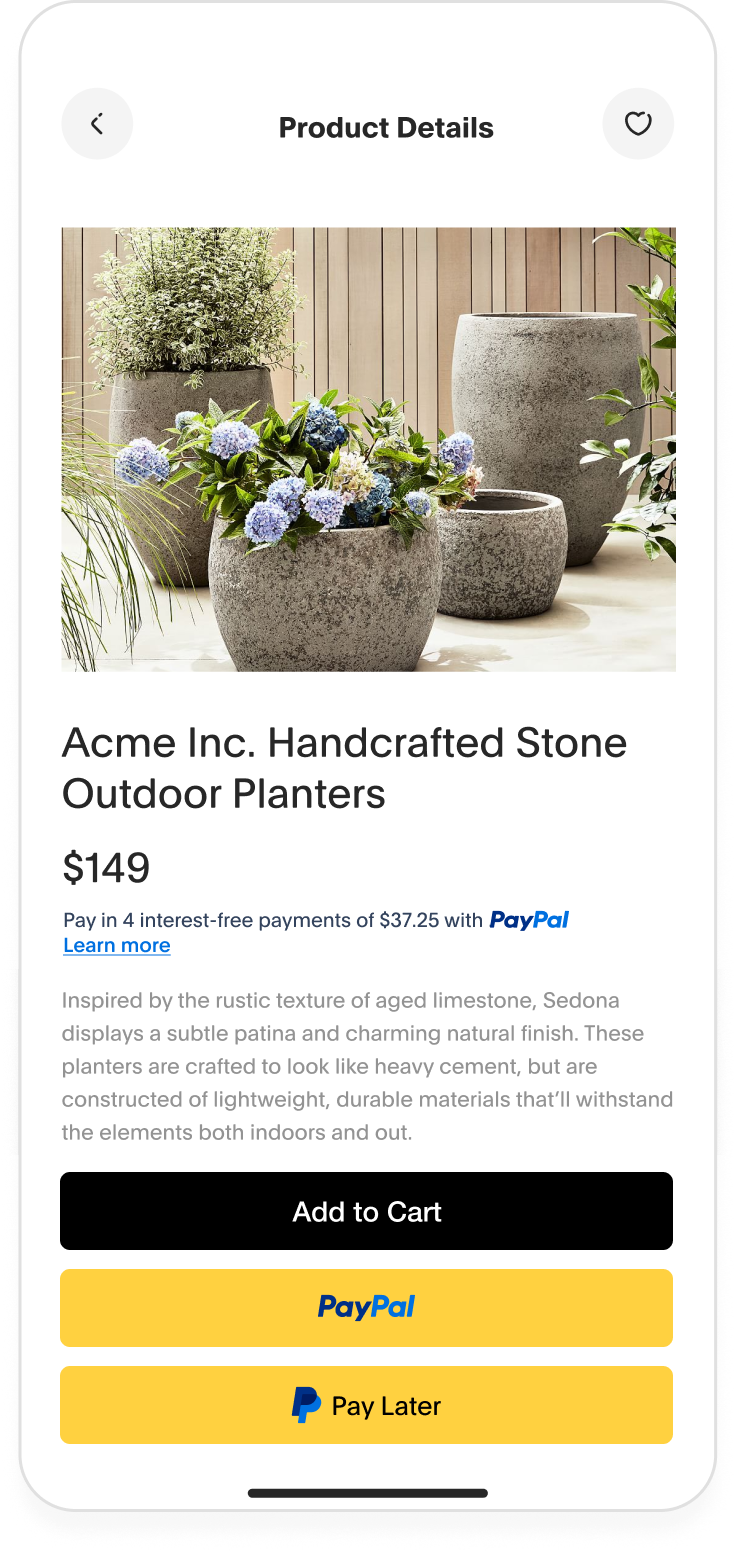
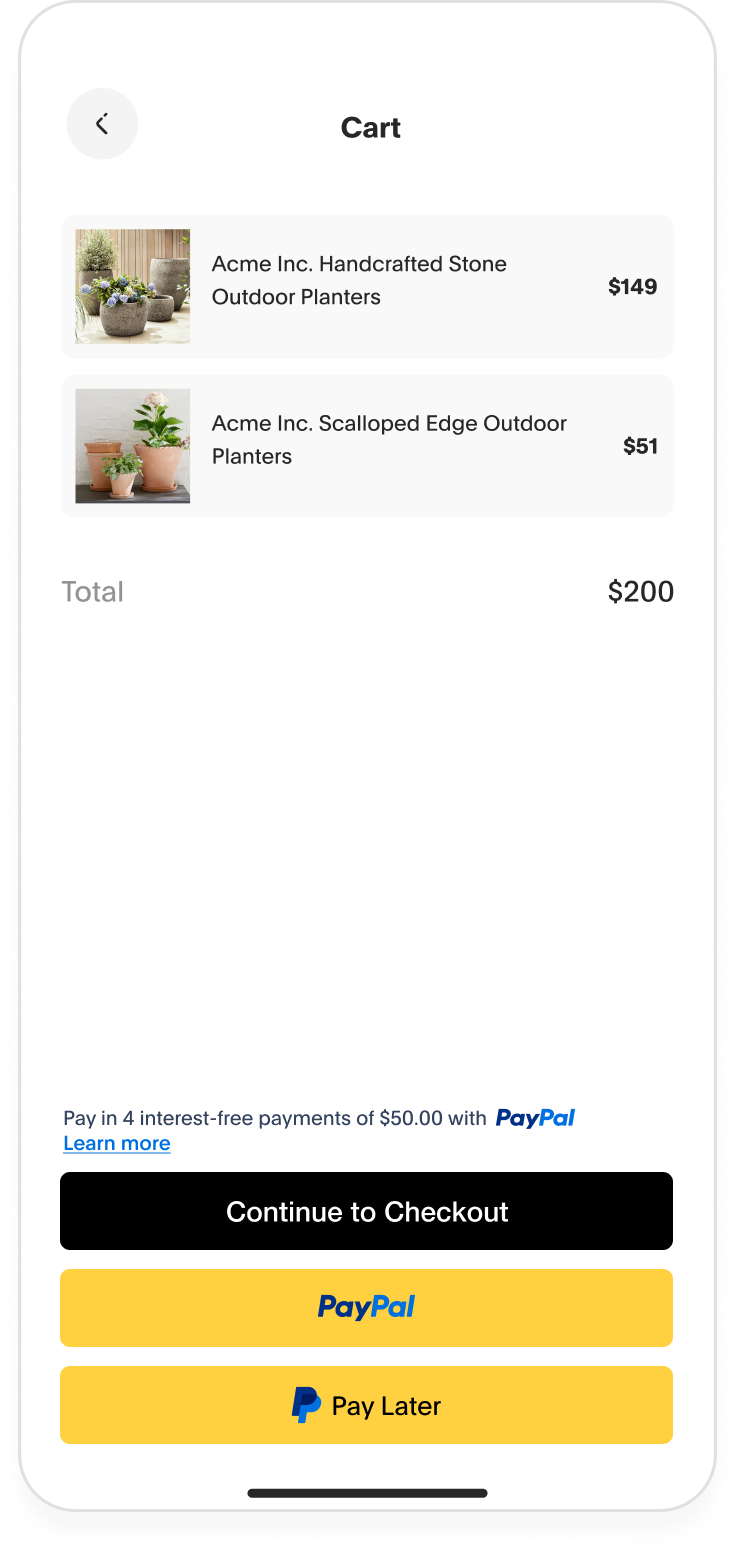
Integrate PayPal Checkout to give your customers payment buttons for PayPal, Venmo, debit, and credit cards.
PayPal's JavaScript SDK supports how you want to accept payments on your website. Our SDK handles displaying the buttons for PayPal and other payment methods, so your customers can pay with whatever method they choose. They can also use a pre-built form to pay directly using credit or debit.
The JavaScript payload shows up in the global window object under the paypal namespace, so you can access it anywhere in your app to render any component in the JavaScript SDK.
1
The <script> tag fetches the PayPal SDK when your checkout page renders.
2
When your customer clicks on a PayPal button, the createOrder callback tells your server to initiate an order with PayPal's server.
3
PayPal server sends the Order ID to your server, which then relays it to the SDK's createOrder callback, prompting the SDK to launch the checkout window for the Order ID.
4
The customer logs in using PayPal credentials and uses the order review page to verify order details and check out.
5
The onApprove callback launches after payment is confirmed.
6
You can use the response to verify the payment was completed or catch any errors about their payment method.
The PayPal buttons component shows up on your website based on the configuration you set in the JavaScript SDK. Your buyer can choose how to check out based on the eligible payment methods. A buyer following the PayPal Checkout flow sees the PayPal, Venmo, and Debit or Credit Card buttons.
When your buyer selects a payment method:
1
A pop-up shows up on the buyer's screen.
2
If the buyer is logged into their PayPal account, the pop-up includes details about their order.
3
This screen shows the buyer's default shipping address and the default shipping option you selected in the initial Orders API call.
4
The buyer can choose a different shipping address and payment method.
5
The buyer confirms that all the information is correct.
6
The buyer selects Complete Purchase to authorize the payment.
7
The order goes to PayPal's servers, where we process the payment.

Set up your development environment
1
Build the server
This sample Node.js integration uses the npm package manager.
Enter npm install to run the sample application. For more information, visit npm's documentation.
2
Install dependencies
Set up your integration by running npm install @paypal/paypal-server-sdk@1.0.0 dotenv express body-parser to install the following 4 libraries at the same time:
-
@paypal/paypal-server-sdk@1.0.0 The PayPal Server SDK provides integration access to the PayPal REST APIs
-
dotenv separates your configuration and code by loading environment variables from a .env file into process.env.
-
express is a Node.js web application framework that supports web and mobile applications.
-
body-parser is used to parse incoming request bodies in a middleware before your handlers
This sample integration uses PayPal's Server SDK v1.0.0. For more details, visit the PayPal Server SDK documentation by logging in to your account.
3
Verify package.json
The following code sample shows a package.json file for a PayPal integration. Replace YOUR-SERVER-NAME.js with the name of your server file in main and start on lines 5 and 8:
{
"name": "paypal-checkout-integration-backend-node",
"version": "1.0.0",
"private": true,
"type": "module",
"dependencies": {
"@paypal/paypal-server-sdk": "^1.0.0",
"body-parser": "^1.20.3",
"dotenv": "^16.3.1",
"express": "^4.18.2"
},
"scripts": {
"server-dev": "nodemon server.js",
"start": "npm run server-dev",
"prod": "node server.js",
"format": "npx prettier --write **/*.{js,jsx,md}",
"format:check": "npx prettier --check **/*.{js,jsx,md}"
},
"devDependencies": {
"concurrently": "^8.2.1",
"nodemon": "^3.0.1"
}
}
If you're having trouble with your app, reinstall your local library and package files using npm install. If you're getting the following node error, include "type": "module" in your package.json file. This line isn't automatically added when package.json is created.
Warning: To load an ES module, set "type": "module" in the package.json file or use the .mjs extension. Use node --trace-warnings ... to show where the warning was created.
See line 5 of the sample package.json file for an example.
4
Set up environment variables
Update your operating system's local working environment variables to pass your app's client ID and client secret securely. The following examples show how to set up these environment variables in PowerShell on Windows, as well as the Linux and MacOS operating systems:
Windows (powershell)
$env:PAYPAL_CLIENT_ID = "<PAYPAL_CLIENT_ID>"
$env:PAYPAL_CLIENT_SECRET = "<PAYPAL_CLIENT_SECRET>"
Linux / MacOS
export PAYPAL_CLIENT_ID="<PAYPAL_CLIENT_ID>"
export PAYPAL_CLIENT_SECRET="<PAYPAL_CLIENT_SECRET>"
View your client ID and client secret in the PayPal Developer Dashboard under Apps & Credentials.
Know before you code
Resources